

For many years, iPhones have consistently been among the top smartphones for photography. Models like the iPhone 15 Pro Max and iPhone 17 Pro Max further solidify this position thanks to powerful hardware and increasingly sophisticated image processing algorithms.
However, image quality doesn't just depend on hardware. The default Camera app on iOS is designed to be simple and easy for anyone to use, but beneath that user-friendly interface are many advanced customization options that not all users are aware of.
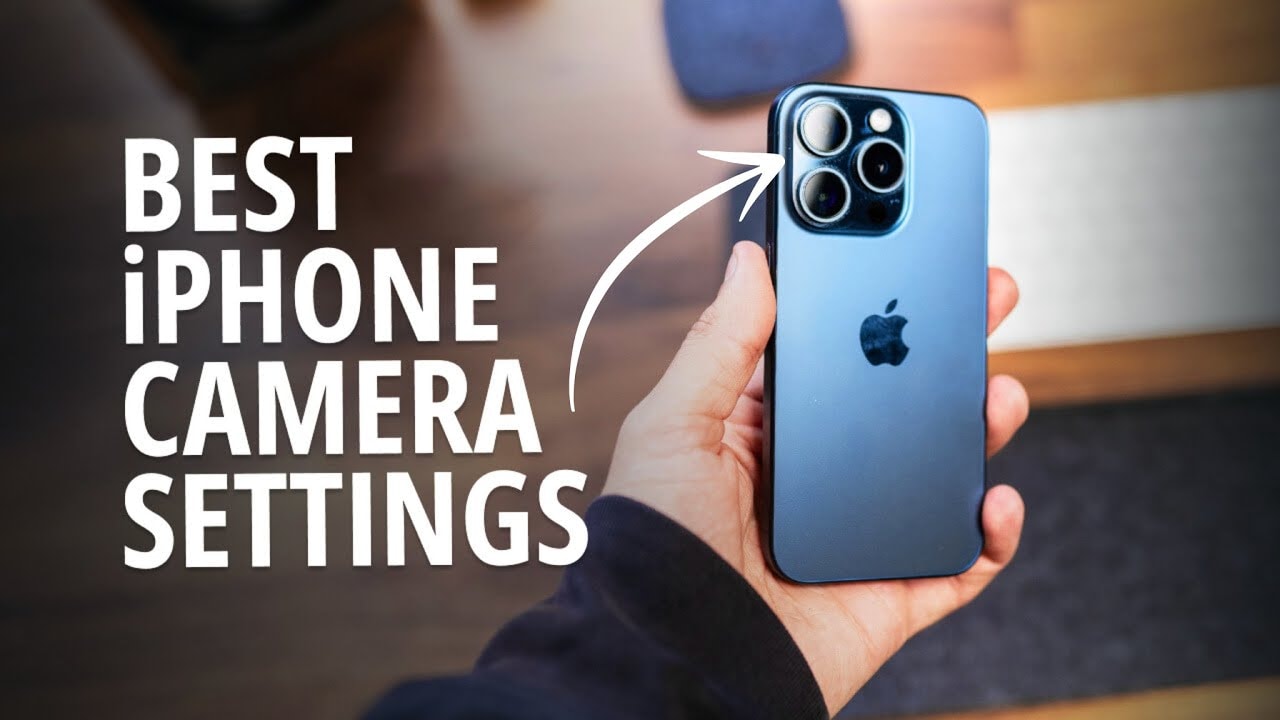
Here are five notable settings that can help you get the most out of your iPhone camera.
1. Adjust the image resolution as needed.
By default, modern iPhones take photos at 24 MP resolution, which is good enough for most everyday needs. However, you can easily change this level to better suit your needs.
In Settings > Camera > Format, users can switch down to 12 MP to save storage space, or upgrade to 48 MP (with ProRAW on Pro models) if they need high-detail images.
It's important to note that higher resolution images aren't always better. On the contrary, they will take up significantly more storage space and require more processing.
2. Customize the “hidden lenses” on the main camera.
In addition to familiar zoom levels like 0.5x, 1x, or 3x, some iPhone Pro models also offer "virtual lenses" such as 1.2x or 1.5x.
Essentially, these are cropping levels from the main sensor, equivalent to a 28mm or 35mm focal length, ideal for portraits or everyday photography.
You can toggle these lenses on/off and set them as defaults in Camera Settings > Main Camera (or Camera Fusion). This makes shooting faster, especially once you're familiar with a particular focal length.
3. Turn the "View Out of Frame" feature on or off.
The "Out-of-Frame View" feature lets you see what's outside the current shooting area, a very useful composition suggestion.
For example, when taking a group photo, you can quickly tell whether switching to a wide-angle lens will help fit enough people in the frame.
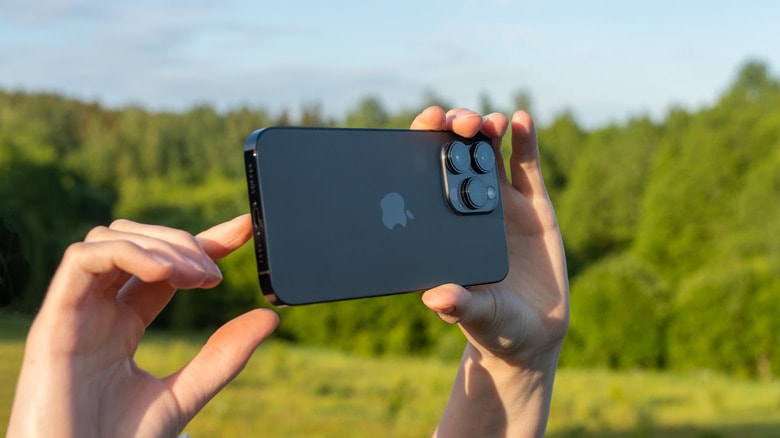
Photo: Internet.
However, not everyone likes this interface with the extra display area. If you want to focus entirely on the main frame, you can turn off the feature in the Camera settings.
4. Lens Correction Control
The ultra-wide-angle camera on the iPhone often suffers from image distortion at the edges of photos. To fix this, Apple has integrated a Lens Correction feature and enabled it by default.
This feature is particularly useful when photographing architecture or straight lines. However, in some cases, automatic processing may cause a loss of detail or create unwanted effects.
Therefore, if you want to preserve the natural optical "quality" or do post-processing using software like Adobe Lightroom, you can absolutely turn this option off.
5. Do you prioritize shooting speed or image quality?
iPhones use powerful image processing to enhance photo quality. However, this process takes time, especially when you're shooting continuously.
To address this, iOS offers a "Prioritize faster shooting" option, which speeds up shooting by slightly reducing image processing in situations involving continuous shutter activity.
In reality, the difference in quality is not significant and only becomes apparent when you shoot at very high speeds.
Therefore, if you often capture moving moments (children, sports ), you should keep it on, but if you prioritize maximum quality in each photo, you can turn it off.
Although the iPhone's Camera app is designed simply, it contains many powerful tools. Understanding and customizing these settings will give you better control over image quality, instead of relying entirely on automatic mode.
In a context where smartphones are increasingly replacing traditional cameras, making the most of your existing device, such as an iPhone, not only helps you take better photos but also enhances your daily user experience.
Source: https://baonghean.vn/5-cai-dat-camera-iphone-giup-chup-anh-dep-hon-10338406.html
![[Photo] General Secretary and President To Lam presides over the meeting to approve the draft report on the results of the second inspection by the Politburo of the Standing Committee of the Hanoi City Party Committee.](https://vphoto.vietnam.vn/thumb/1200x675/vietnam/resource/IMAGE/2026/05/26/1779789811432_a2-bnd-4430-9620-jpg.webp)












































Comment (0)