Blurring photos on Canva is a simple but extremely effective way. This method helps your design become more beautiful and attractive. Refer to the steps to blur photos on Canva in the article below.
 |
| How to blur photos with Canva |
Using Canva to edit and blur is a simple method that anyone can do. With just 4 quick steps, you can cover up unwanted details and create a mixed dark and light color effect, refer to it now.
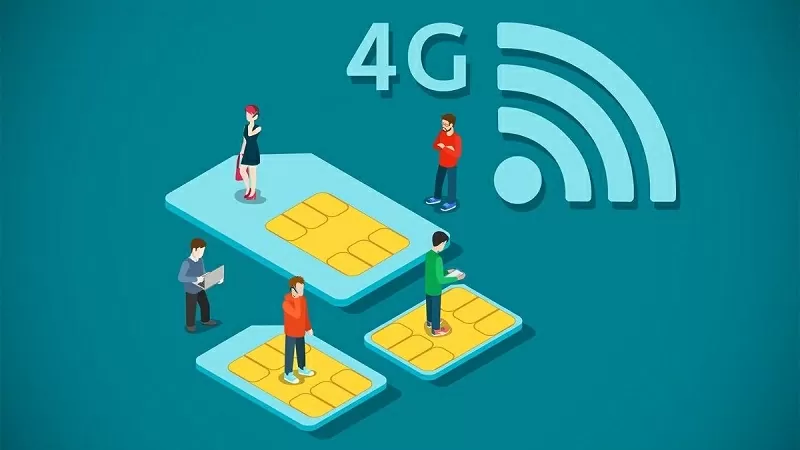
Step 1: To blur an image in Canva, first select the image you want to blur. Go to your project, click and open the image, then create an idea for the picture with alternating dark and light parts.
 |
| Select the image to blur |
Step 2: This is an important step to blur photos on Canva, please do it in the following order:
Click on the photo you want to blur and select Edit.
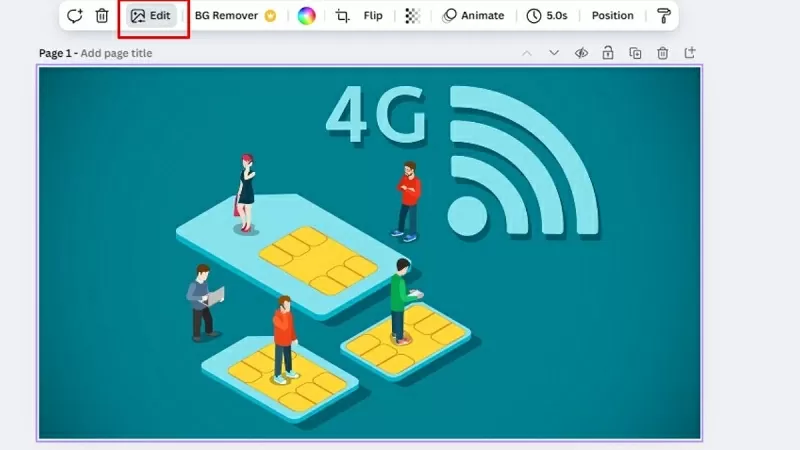 |
| Click on the photo and select Edit |
On the Background bar, scroll down to the effects section and select the Blur effect.
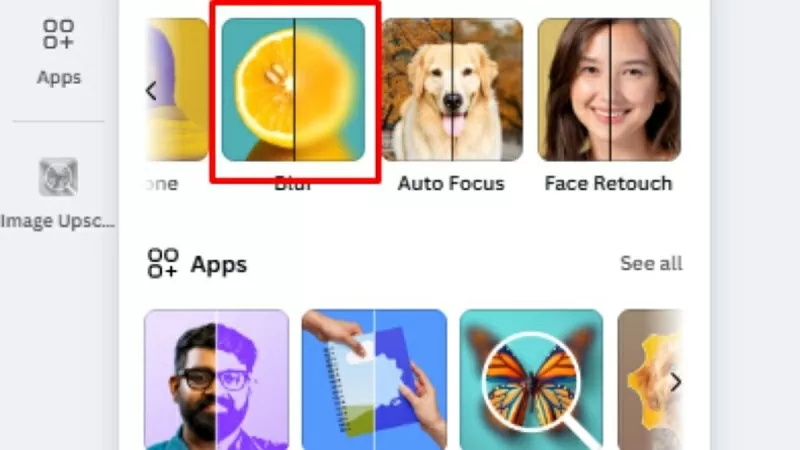 |
| Select Blur effect |
Move the mouse to the area you want to blur, then release the mouse to let the system automatically blur.
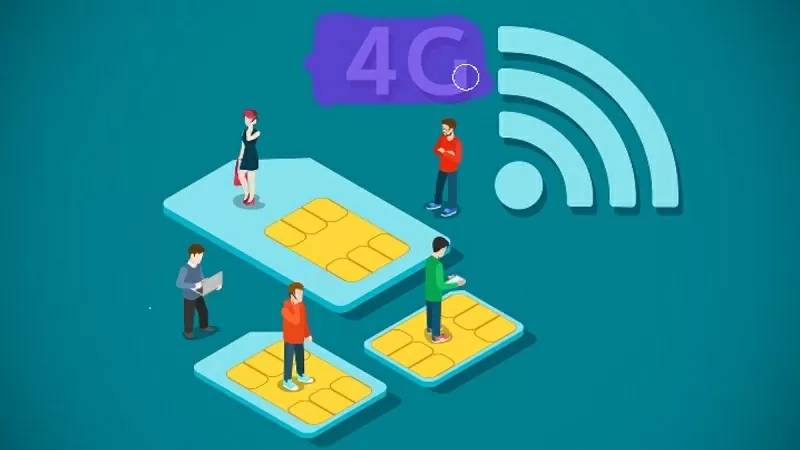 |
| Move the mouse to the area to be blurred |
Step 3: In the above step, you have blurred the image part, but you can also adjust the opacity according to your needs. You adjust the Brush size bar to change the blur pen, the larger the number, the larger the pen tip and the easier it is to select the blurred part. In addition, you can also adjust the Intensity bar to increase or decrease the opacity from dark to light as you like.
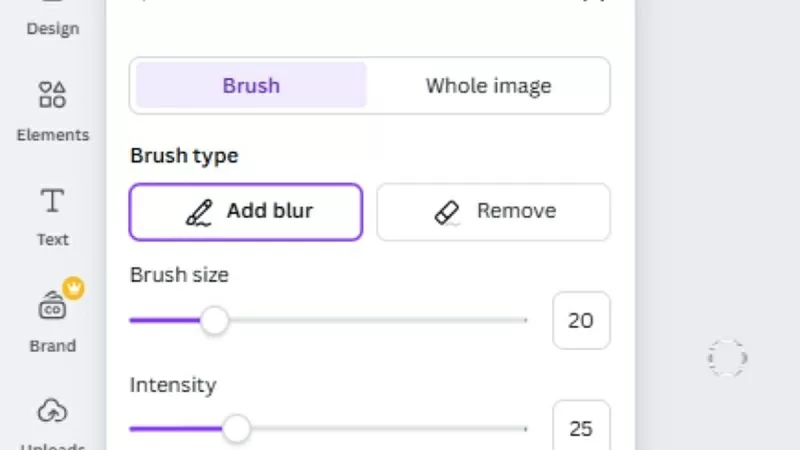 |
| Adjust the opacity of the image as needed |
Step 4: After completing the editing steps and receiving a satisfactory picture, save the photo to your device. Click the share button and select download, you can download each photo or download multiple photos.
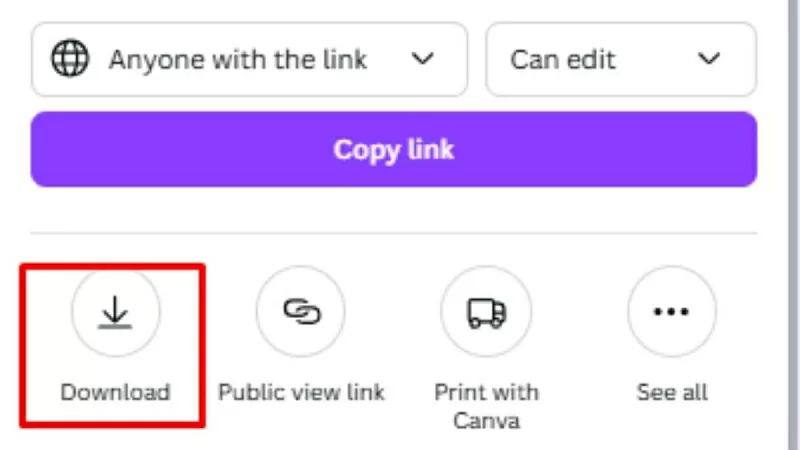 |
| Save image to device |
Above is a detailed guide on how to blur photos on Canva simply and easily. Apply it now to create impressive designs for yourself.
Source


![[Photo] Panorama of the Patriotic Emulation Congress of Nhan Dan Newspaper for the period 2025-2030](https://vphoto.vietnam.vn/thumb/1200x675/vietnam/resource/IMAGE/2025/11/04/1762252775462_ndo_br_dhthiduayeuncbaond-6125-jpg.webp)
![[Photo] Opening of the 14th Conference of the 13th Party Central Committee](https://vphoto.vietnam.vn/thumb/1200x675/vietnam/resource/IMAGE/2025/11/05/1762310995216_a5-bnd-5742-5255-jpg.webp)






























Comment (0)